Halloween party ideas 2015


What is ADB (Android Debug Bridge)
Android Debug Bridge (adb) is a versatile command-line tool that lets you communicate with a device (an emulator or a connected Android device). The adb command facilitates a variety of device actions, such as installing and debugging apps, and it provides access to a Unix shell that you can use to run a variety of commands on a device.

Yes, it's Command Prompt that you should manually type to execute the command. The commonly command that used to debug any Android device, are:

[code type="adb device"]to check the connection between computer and phone also sometimes you need trusth the connection (you will prompt at phone screen)[/code]
[code type="adb reboot recovery"]To reboot any Android device to recovery menu that could be use for reset purposes or install/update Android version through adb sideload or recommended update by choosing update menu[/code]
[code type="This command for install or upgrade device OS. You could find this options when you in recovery menu"][/code]
[code type="adb reboot fastboot"]To reboot any Android device to fastboot menu. When your device can boot in fastboot stage, you can install/update Android OS, Unlock Bootloader and more[/code]
[code type="adb reboot edl"]This command is use for force device in edl mode, this must be use when you can't update mobile device through fastboot mode. Commonly use for Mi device.[/code]
There are many command for adb program, you can ask here or search by yourself with google

Download


Brand new mobile phone is coming on April, 2017 with Android 6.0 version. Here we are not discuss specification but will give little brief about this phone.

Smartphone Luna G55 presents a complete connectivity which is supported by Dual SIM features that can standby together in two numbers. In addition, this phone has also been equipped with 2G GSM network, 3G HSDPA and 4G LTE so as to provide fast and fast internet access in HSPA speed up to LTE. In addition the internet connection on the phone Luna G55 also offers GPRS, EDGE, Wi-Fi, Hotspot connection as well as some other connectivity. Luna G55 comes with GPS navigation features, Browser, Bluetooth and microUSBB port.

How to Hard Reset Luna G55?
  1. Turn off your phone
  2. Press and hold power on and volume up
  3. You will see Android robot logo
  4. Fast pressed power on and volume up again and recovery menu will appear on screen
  5. Select Wipe data/factory reset by pressing volume down and power on for enter (select)
  6. After reset finished, select 'Reboot system now'


FRP bypass for Huawei Y3 II (LUA-L22) is easy and fast because it's only Android 5.1 version not Marshmallow or Nougat. So, here how to bypass FRP on Huawei LUA-L22:
  1. Turn on Huawei LUA-L22 and setup connection (you can use wifi or data)
  2. After you see inserting email dialog
  3. Hold "space" keyboard and select "more languages"
  4. Select "Download languages"
  5. In "AGREEMENT" page select any text and press "search" button at top right screen
  6. You will be landed in google page
  7. From here you can select any phone menu, type "files" and then install Google Account Manager 5.1 APK and thenquickshortcut maker APK.
  8. Open QuickShortcut APK and search for Google Account Manager
  9. Select Google Account Manager with "Type Email and Password"
  10. Now select "Try" option menu and you will be landed google account page with input password
  11. Press " " menu in your phone (right bottom menu)
  12. New popup "Browser sign-in" will appear on screen, select it
  13. Now create new account or sign-in with any google mail you have and restart your phone

Google Account Manager 5.1 and QuickShortcut Maker


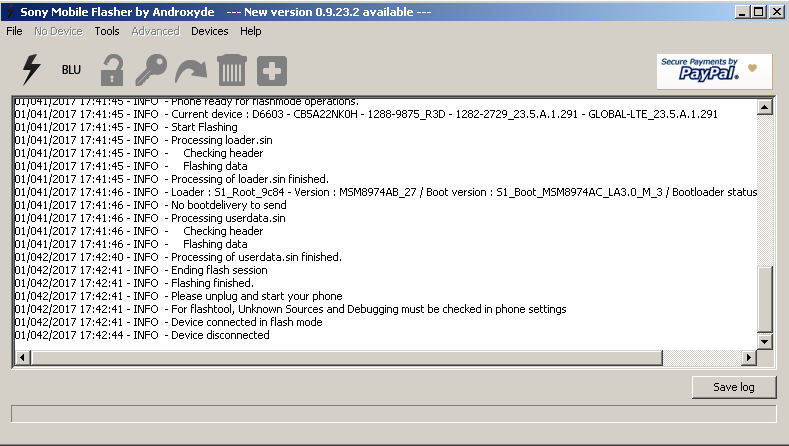
Hi, today i will share how to remove pattern lock and FRP bypass on Xperia Z3 Docomo SO-01G. No need to full flash / update just use our firmware that only contains userdata and loader. Remember, this action will delete all userdata so, make sure you already backup them.

If this the first time you flashing or updating mobile device, read below steps carefully. Note; This firmware is different with Xperia Z3 D6603 or others model. This only for Xperia Z3 SO-01G NTT DoCoMo Japan.

Xperia Z3 SO-01G DoCoMo Hard Reset;
  1. Download Flashtool , Xperia Azusa firmware
  2. Install driver (you can found at under 'flashtool' directory)
  3. Put your downloaded SO-02C firmware under 'firmware' directory
  4. Now open flashtool and press 'lightening' symbol (flash device) and select 'flash mode' option
  5. Select SO-02C at firmware selector tab
  6. Un-check all options at 'exclude' option (this mean only hard reset not full update)
  7. Finally press 'Flash' button. Hold the 'back key' at your phone and then attach cable
  8. Just wait until process finished


Finally, Xperia SO-02C reset done with partial update. No need to root or any difficult method, just flash using this firmware (SO-02C_4.0.1.C.1.24_docomo.ftf) using Sony Mobile Flasher by Androxyde version 0.9.18.4 but you can use higher version flashtool software.

Sony Xperia SO-02C Azusa Hard Reset;
  1. Download Flashtool , Xperia Azusa firmware
  2. Install driver (you can found at under 'flashtool' directory)
  3. Put your downloaded SO-02C firmware under 'firmware' directory
  4. Now open flashtool and press 'lightening' symbol (flash device) and select 'flash mode' option
  5. Select SO-02C at firmware selector tab
  6. Un-check all options at 'exclude' option (this mean only hard reset not full update)
  7. Finally press 'Flash' button. Hold the 'back key' at your phone and then attach cable
  8. Just wait until process finished
Firmware SO-02C_4.0.1.C.1.24_docomo (mirror)


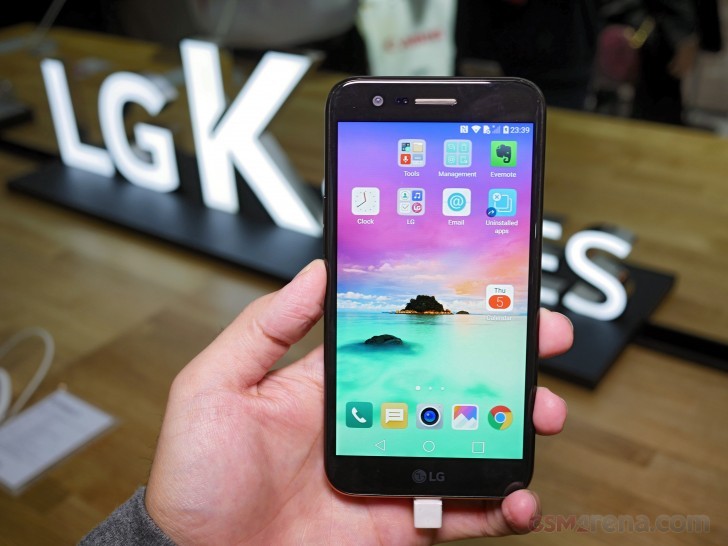
Bypass FRP on LG M250 is easy but it took long way but don't worry, you can pass it easy. This will reset all data on your LG K10 (2017), please remember to backup any data before take this actions.
  1. Turn on LG M250
  2. On "Welcome" screen activate "Talkback" by pressing volume up and down in the same time or you can choose from "Acccessibility" menu
  3. Draw "L" letter on screen
  4. New popup menu will appear on screen, select " Talkback Setting"
  5. After you are in "Talkback Setting" turn off "Talkback" feature by pressing volume up and down together
  6. Scroll down and select "Help & Feedback" in "Help" menu select "Browse All Articles"
  7.  Now you should in page with title "Get Started on Android with Talkback"
  8. Select "Basic Android and Talkback settings" link
  9. Now you will landed in page with title "Set up Android and Talkback"
  10. Find the link "turn on 'OK Google'" and select it
  11. New page will appear on screen, Use "OK Google" on Android
  12. Just scroll down, you will find "Was this article helpful?" select NO
  13. Now you should write in a dialog box, just write anything and select the text that you type, and now you will see menu "ASSIST" from the "..." symbol (that mean, show all menu)
  14. Google page will appear on screen, hit "No Thanks" to continue
  15. Now type anything in your language that reffer to "contact"
  16. Open dial and type *#546368#*250#
  17. Select "LB" and find "USB Debugging enabled" give it check
  18. Now open ADB program and type the following command
[code type="Every type or finish write command just hit enter to execute"]adb devices
adb shell content insert --uri content://settings/secure --bind name:s:user_setup_complete --bind value:s:1[/code]
  1. Restart device and after phone fully boot up, enable oem unlock in setting from developer options
  2. Now select "Backup & Reset" in setting, do factory reset setting, device will restart.
Or, you can see this video: [youtube src="WEg4MgJdN1U"/]


We just share this trick from another [tooltip title="blog"]thanks to kangsuper[/tooltip] and this has been tested and works. This method works on E2 B16C2H v7.5 and may works for other version, give it a try. Most of mobile support this trick and only different in some ways.

Follow below step to remove Andromax E2 FRP
  1. Turn of your Andromax E2 B16C2H
  2.  Connect wifi or data is on
  3. After you see "enter a valid email", click and hold the "," at keyboard after the 'gear' symbol appear (setting) and then select.
  4. New popup will appear on screen, select "preference"
  5. Now simple select "menu window" tab (left soft key)
  6. After you see cascade windows, there are search tab on top, enter valid menu e.g; Setting or Pengaturan after this step, just find "Reset & Backup" menu at setting.
  7. Un-check all options and do factory reset
  8. Done
If this not works for you, just download adb reset from here
Powered by Blogger.